Do-It-Yourself Stencil Cake
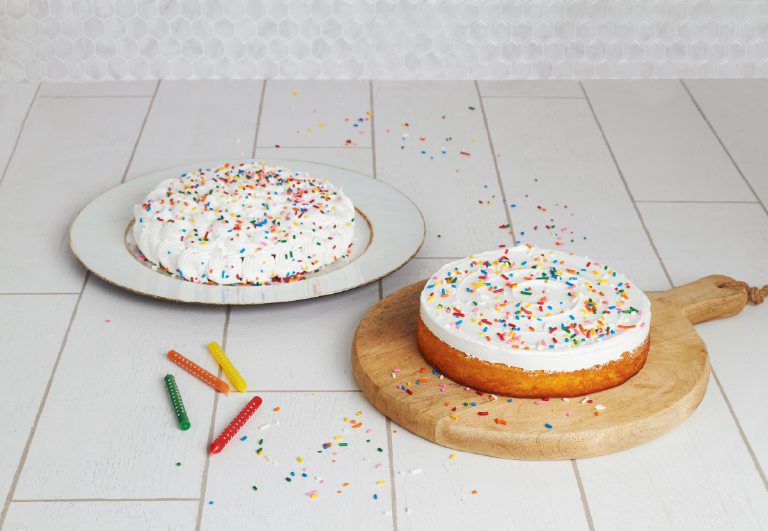
Utilize any cookie cutter or paper stencil to easily customize your very own celebration cake!
Who Knew You Could Write With Sprinkles?
Utilize any cookie cutter or paper stencil to easily customize your very own celebration cake!
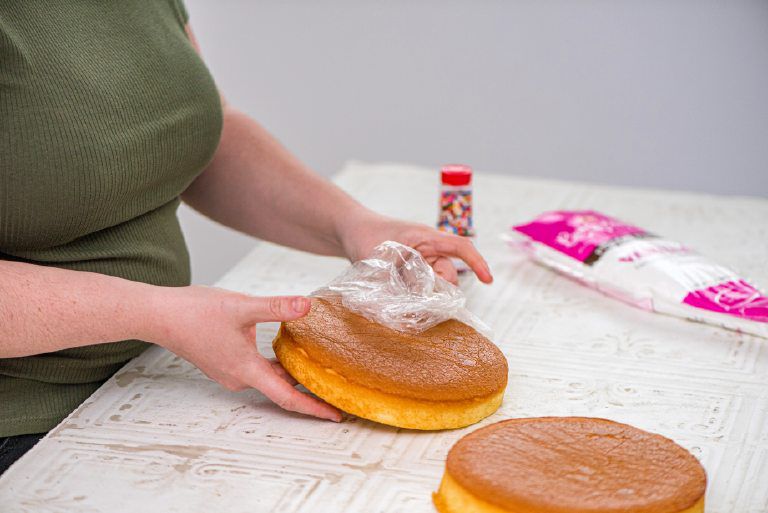
Step 1: Unwrap your cake layers and place them on your flat work surface. Our Specialty Treat Shop™ Cake Decorating Kits are available in-store, at your local grocery retailer.
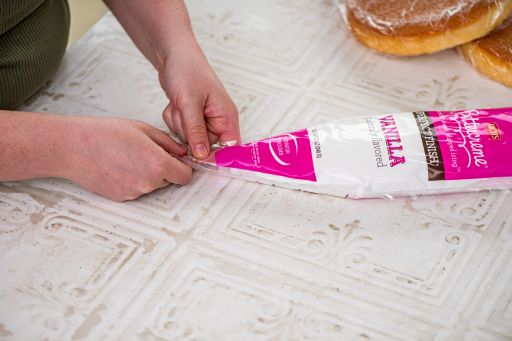
Step 2: Cut the tip of your icing bag where indicated and position the plastic tip in place.
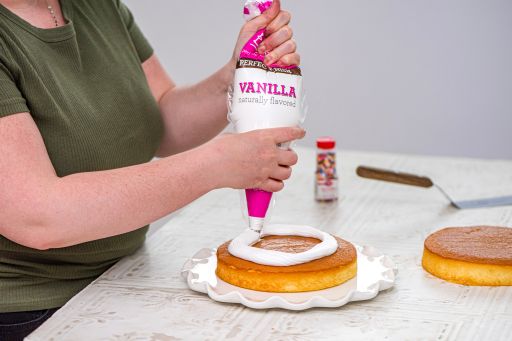
Step 3: Ice your cakes. We recommend spiraling the icing over the entire cake, then smoothing it out with a silicone spatula or palette knife.
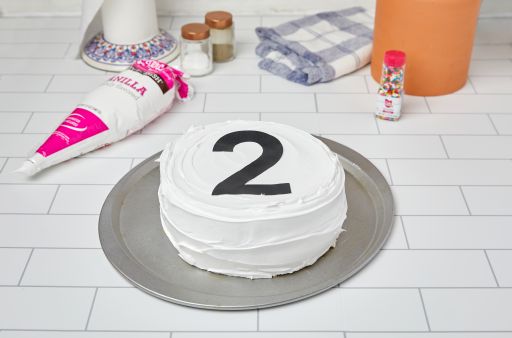
Step 4: Gently place your stencil where you want the design on your cake.
Two Ways to Finish!
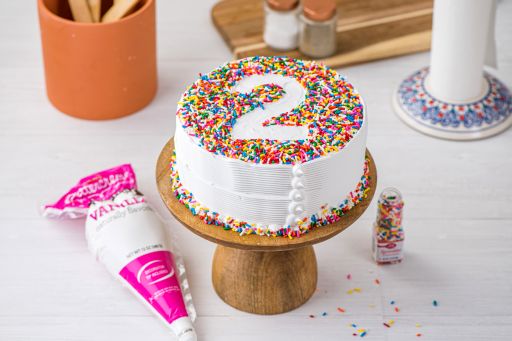
For an Inverted Look
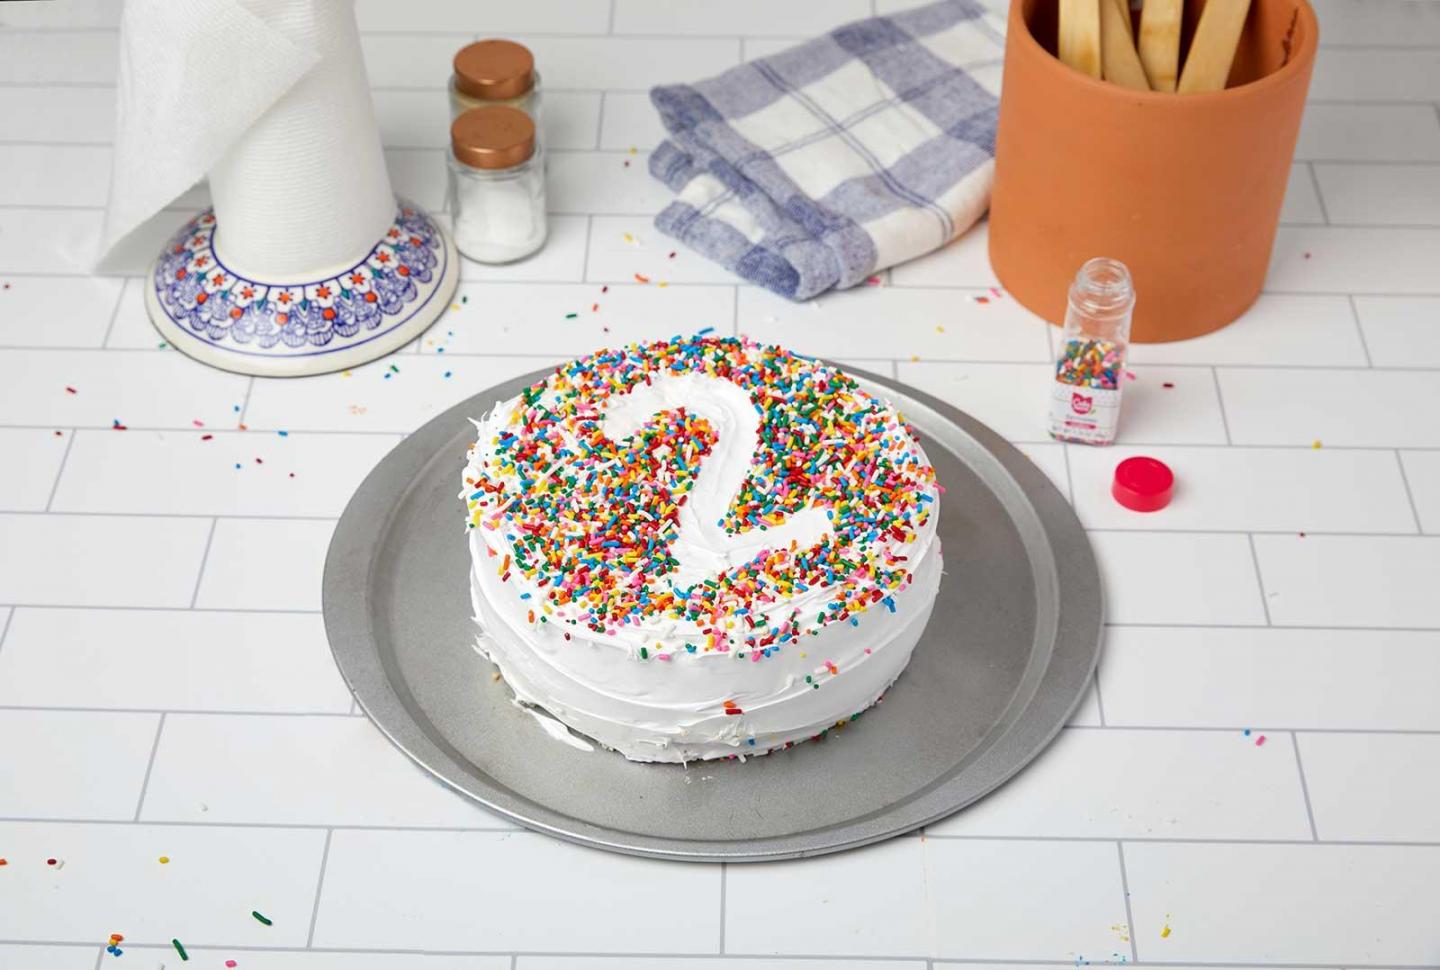
Surround the outside of the stencil with sprinkles, then carefully pull the stencil directly up and off the cake.
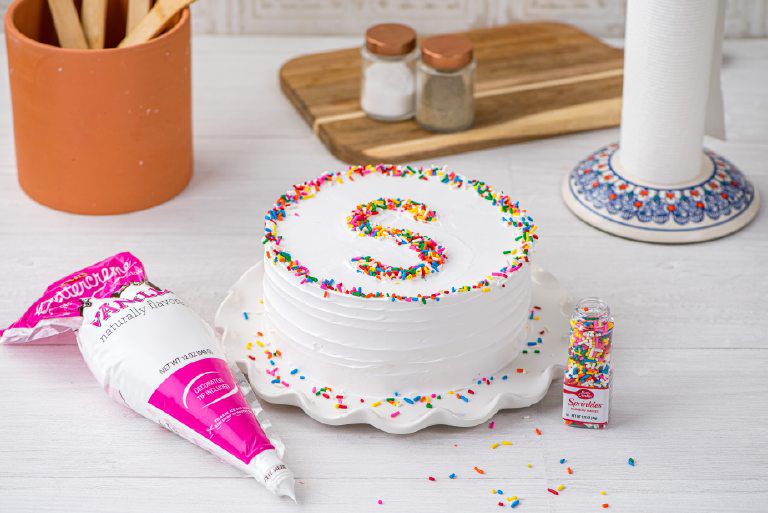
For a Sprinkle Shape
Fill your stencil or cookie cutter with sprinkles, then carefully pull the stencil directly up and off the cake.
Two Cakes or One?
You can create two single-layer cakes, or one luscious double layer cake. For layer cakes, use a thin layer of icing between the two cakes.
Do-It-Yourself Butterfly Cake
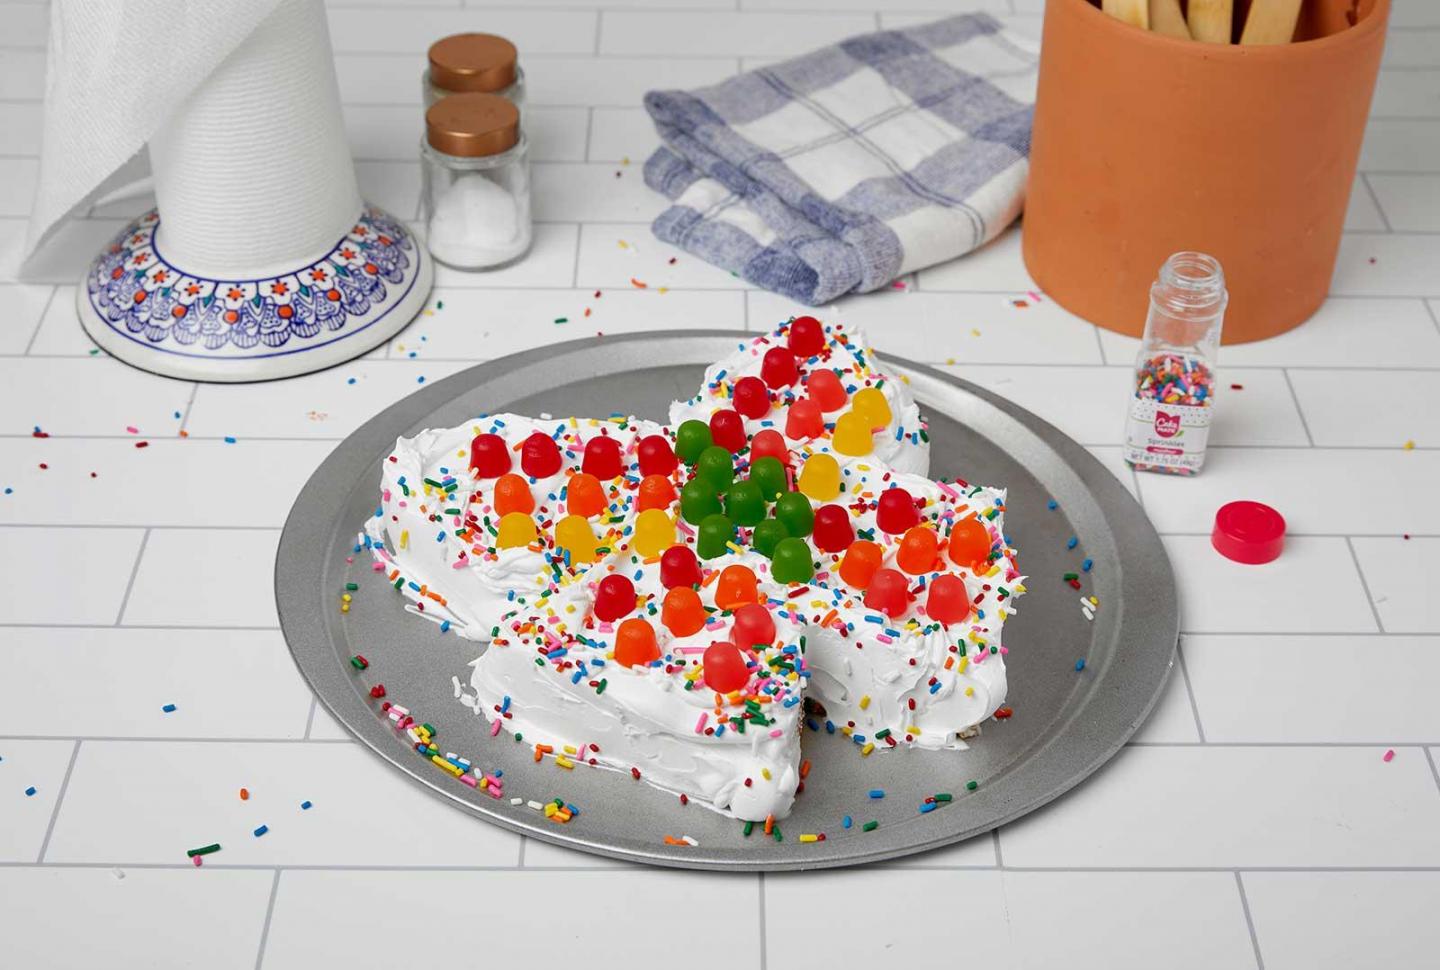
Butterflies are nature’s most magical transformers. Seems appropriate that you’ll be changing two simple circle cakes into two lovely butterfly cakes!
Butterflies are nature’s most magical transformers—changing from humble caterpillars into things of beauty. Seems appropriate that you’ll be changing two simple circle cakes into two lovely butterfly cakes!
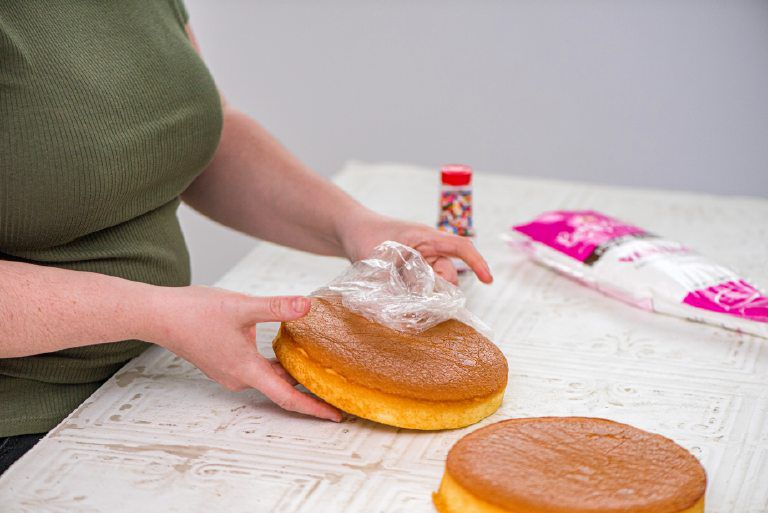
Step 1: Unwrap your cake layers and place them on your flat work surface. Our Specialty Treat Shop™ Cake Decorating Kits are available in-store, at your local grocery retailer.
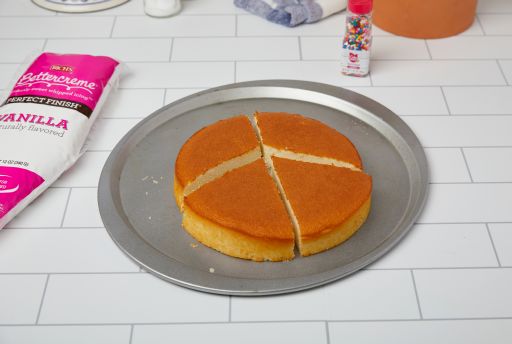
Step 2: Carefully cut one cake into these four shapes as shown.
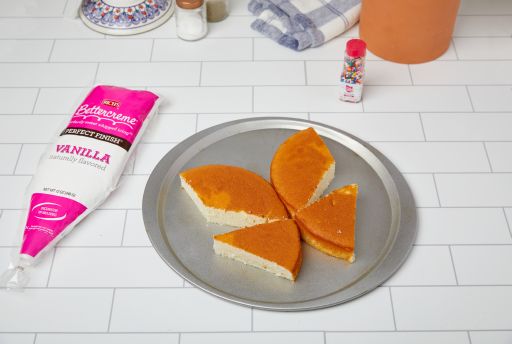
Step 3: Transfer your cut cake shapes to a cookie sheet. Switch the pieces so that the curved sides touch, then separate the ends of the pieces to define the "wings."
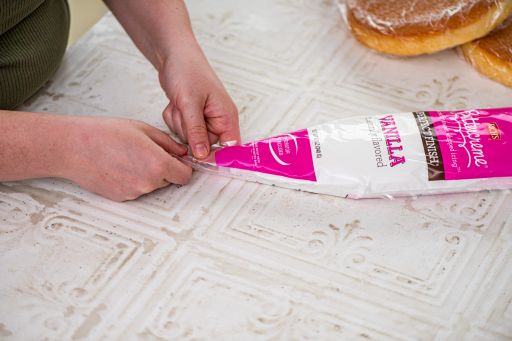
Step 4: Cut the tip of your icing bag where indicated and position the plastic tip in place.
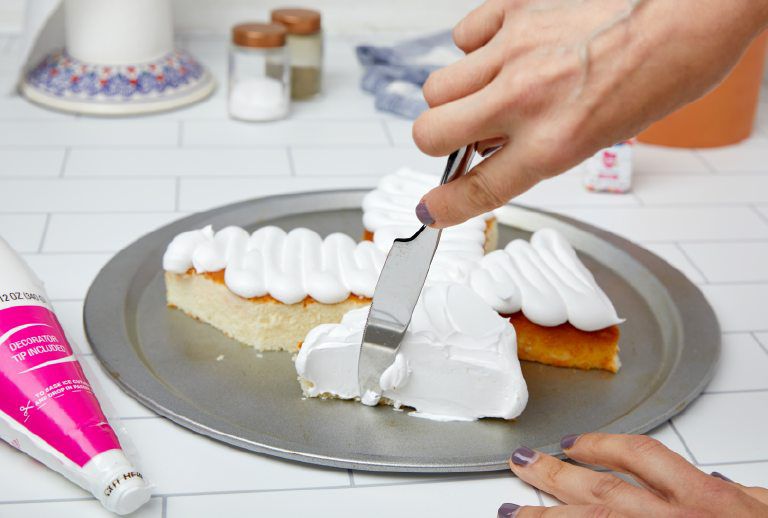
Step 5: Ice your cakes. We recommend piping icing over the entire cake, then smoothing it out with a silicone spatula or palette knife.
Note: If you want different color icing for additional details, make sure to put aside some icing in a bowl.
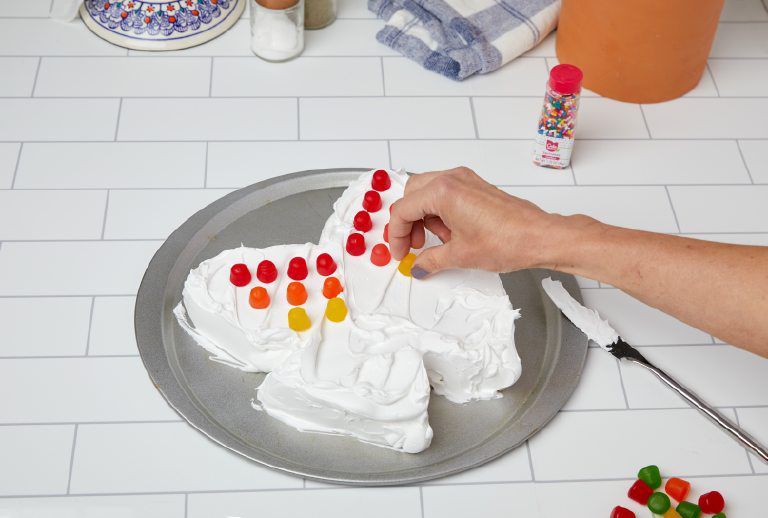
Step 6: Decorate your butterflies. Mix food coloring into white icing if you’d like to create different colors. Or use candy or fruit to create patterns or antennae. Or dust the cake with sprinkles for a kaleidoscope of colors. Or do all of the above!
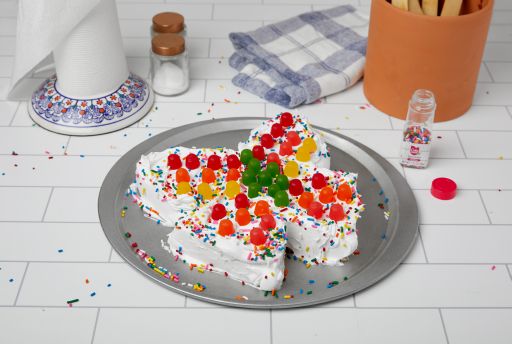
Step 7: Enjoy!
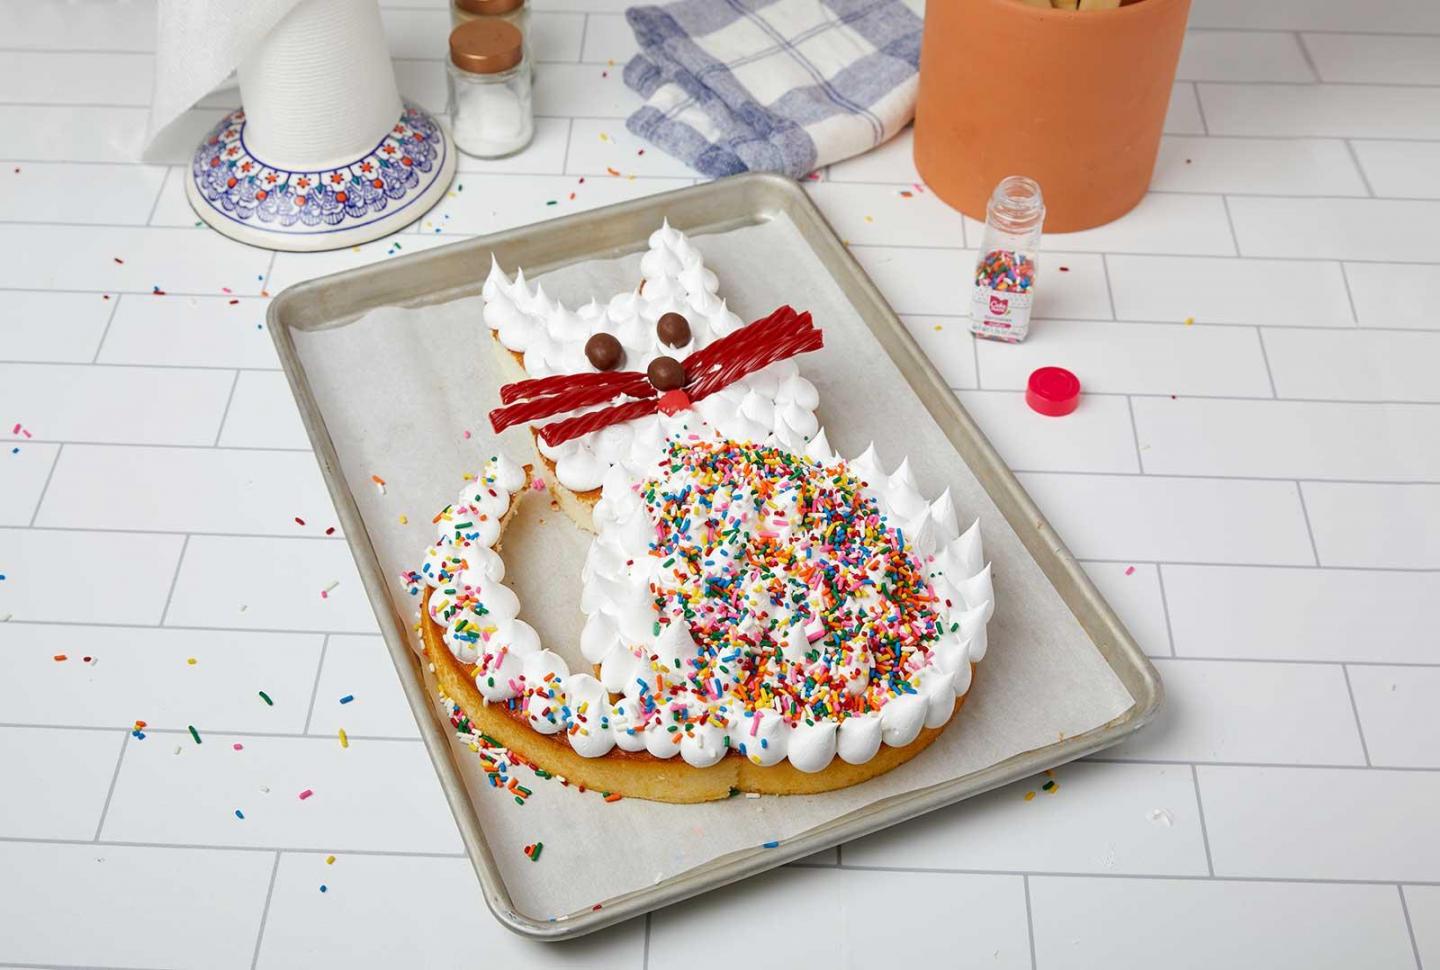
Kitty-Cat Cake
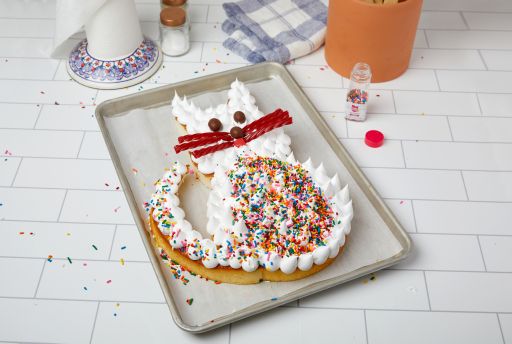
Two simple circles can become the purr-fect shape for celebrating any cat lover’s special day.
"Hereeee Kitty, Kitty, Kitty!"
Two simple circles can become the purr-fect shape for celebrating any cat lover’s special day. Our Specialty Treat Shop™ Cake Decorating Kits are available in-store, at your local grocery retailer.
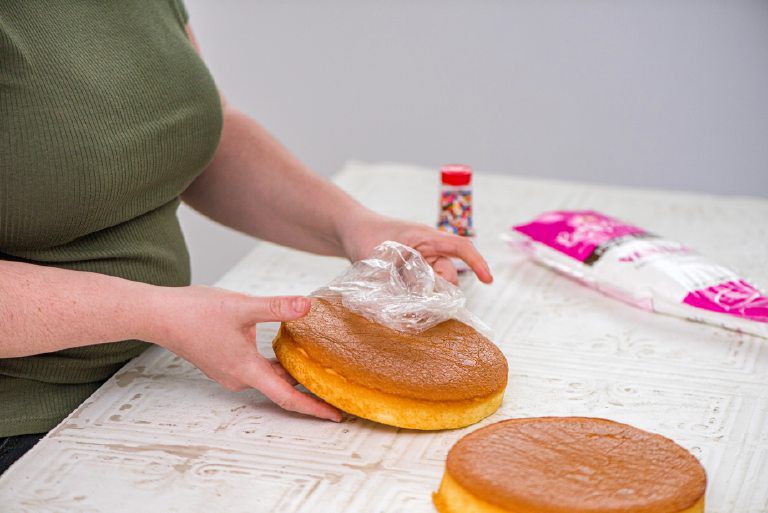
Step 1: Unwrap your cake layers and place them on your flat work surface.
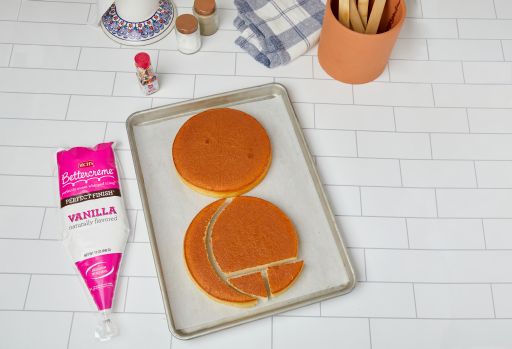
Step 2: Carefully cut one cake into these four shapes as shown. The crescent shape will become the cat’s tail. The largest shape will become the cat’s head. The two smaller triangular shapes will become ears.
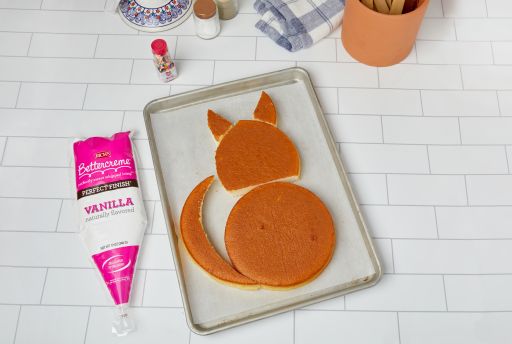
Step 3: Assemble the cut cake shapes into your cat on a cookie sheet.
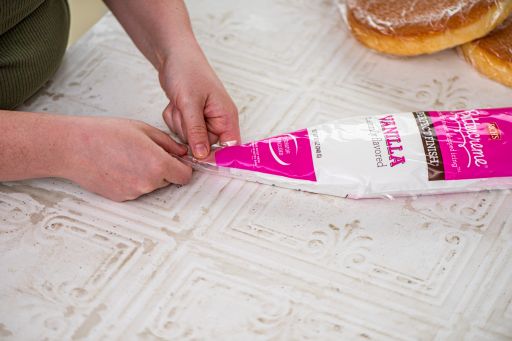
Step 4: Cut the tip of your icing bag where indicated and position the plastic tip in place.
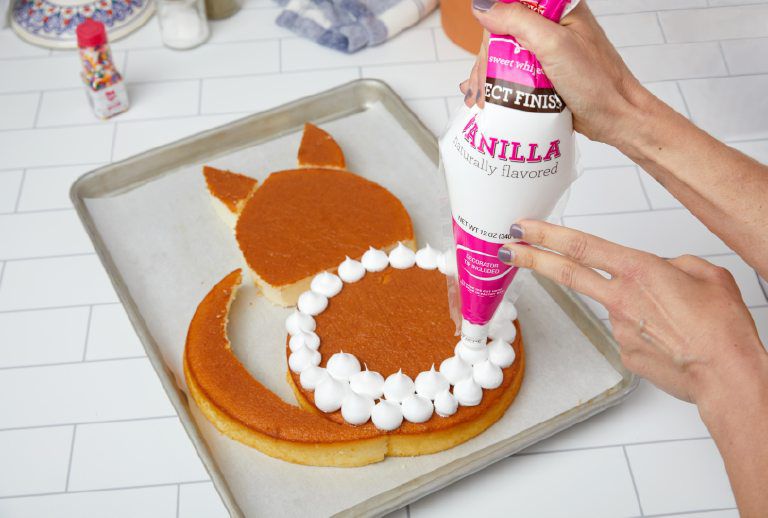
Step 5: Ice your cake. Pipe quarter-sized dots onto the cake, then pull up the bag to create a fluffy look. Practice on a plate first to perfect your technique.
Note: If you want different color icing for details like eyes, ears, and nose, make sure to put aside some icing in a bowl.
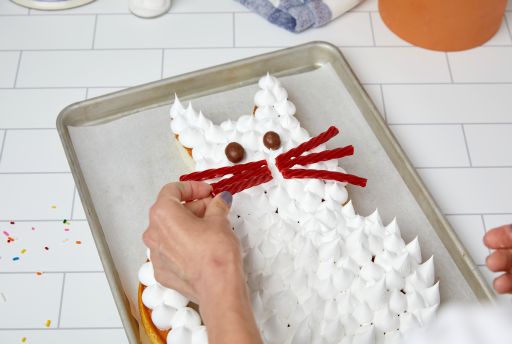
Step 6: Decorate your cat. Mix food coloring into white icing if you'd like to create different colors. Or use candy or fruit to create eyes, nose, mouth, or whiskers. Or dust the cake with sprinkles to create a magical "fur." Or do all of the above!
Step 7: Enjoy!
DIY Inspiration: Sprinkle Donuts
White icing and colorful sprinkles—it’s the classic donut design!
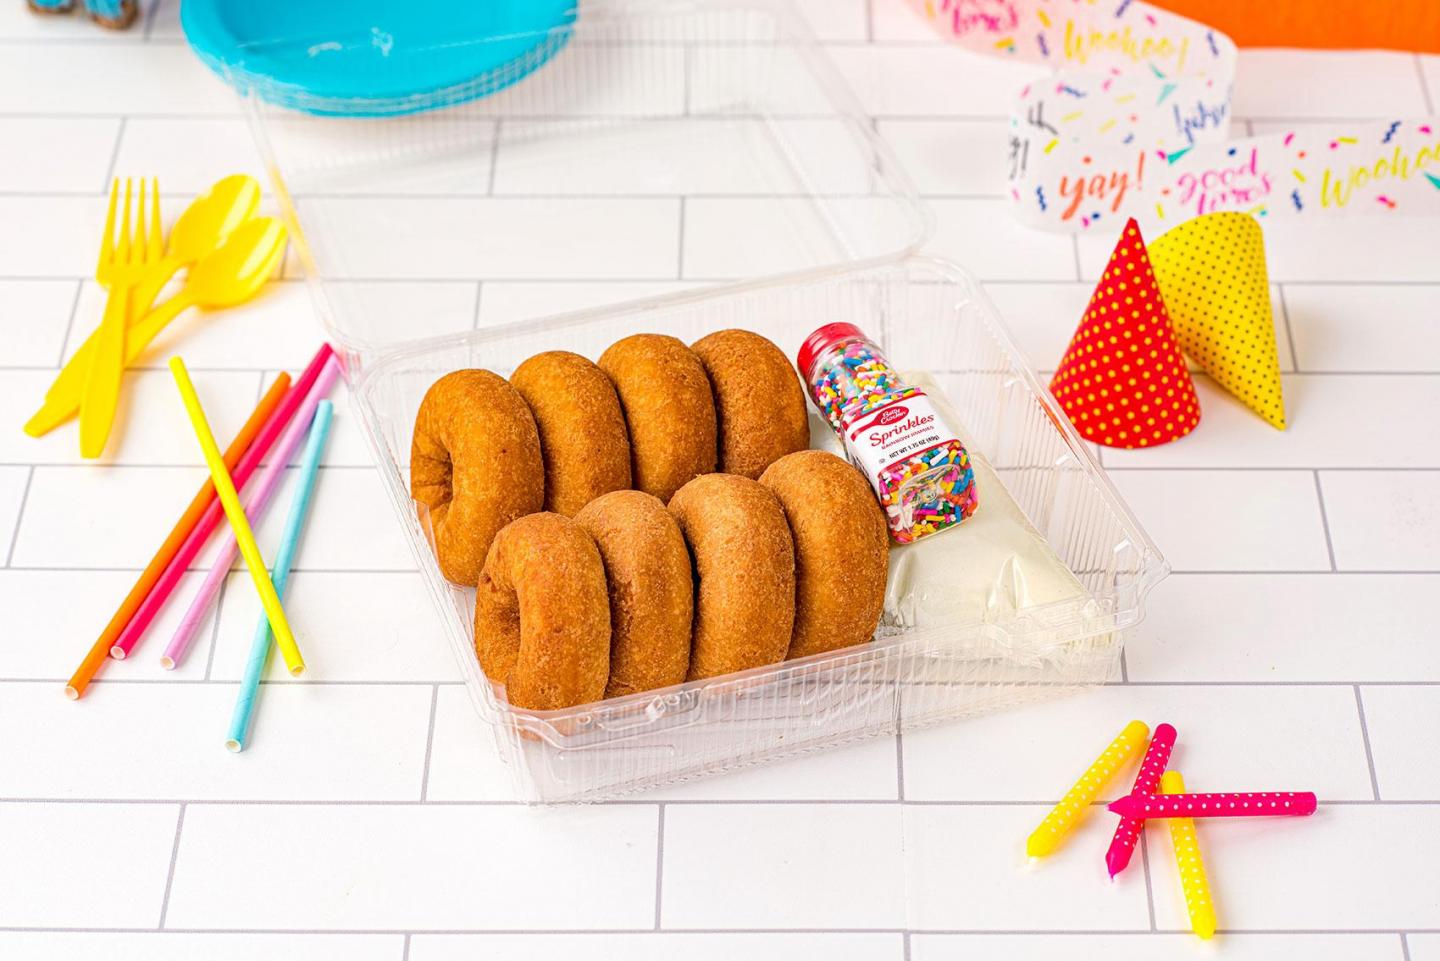
White icing and colorful sprinkles—it’s the classic donut design! You don’t have to run your own donut shop to create these charismatic confections—just follow four simple steps:
Step 1: Place donuts on a baking tray. Our Specialty Treat Shop™ Donut Decorating Kits are available in-store, at your local grocery retailer.
Step 2: Warm the donuts in the oven for three minutes at 375°F.
Step 3: While your donuts are heating, soften the icing by working the bag gently with your hands.
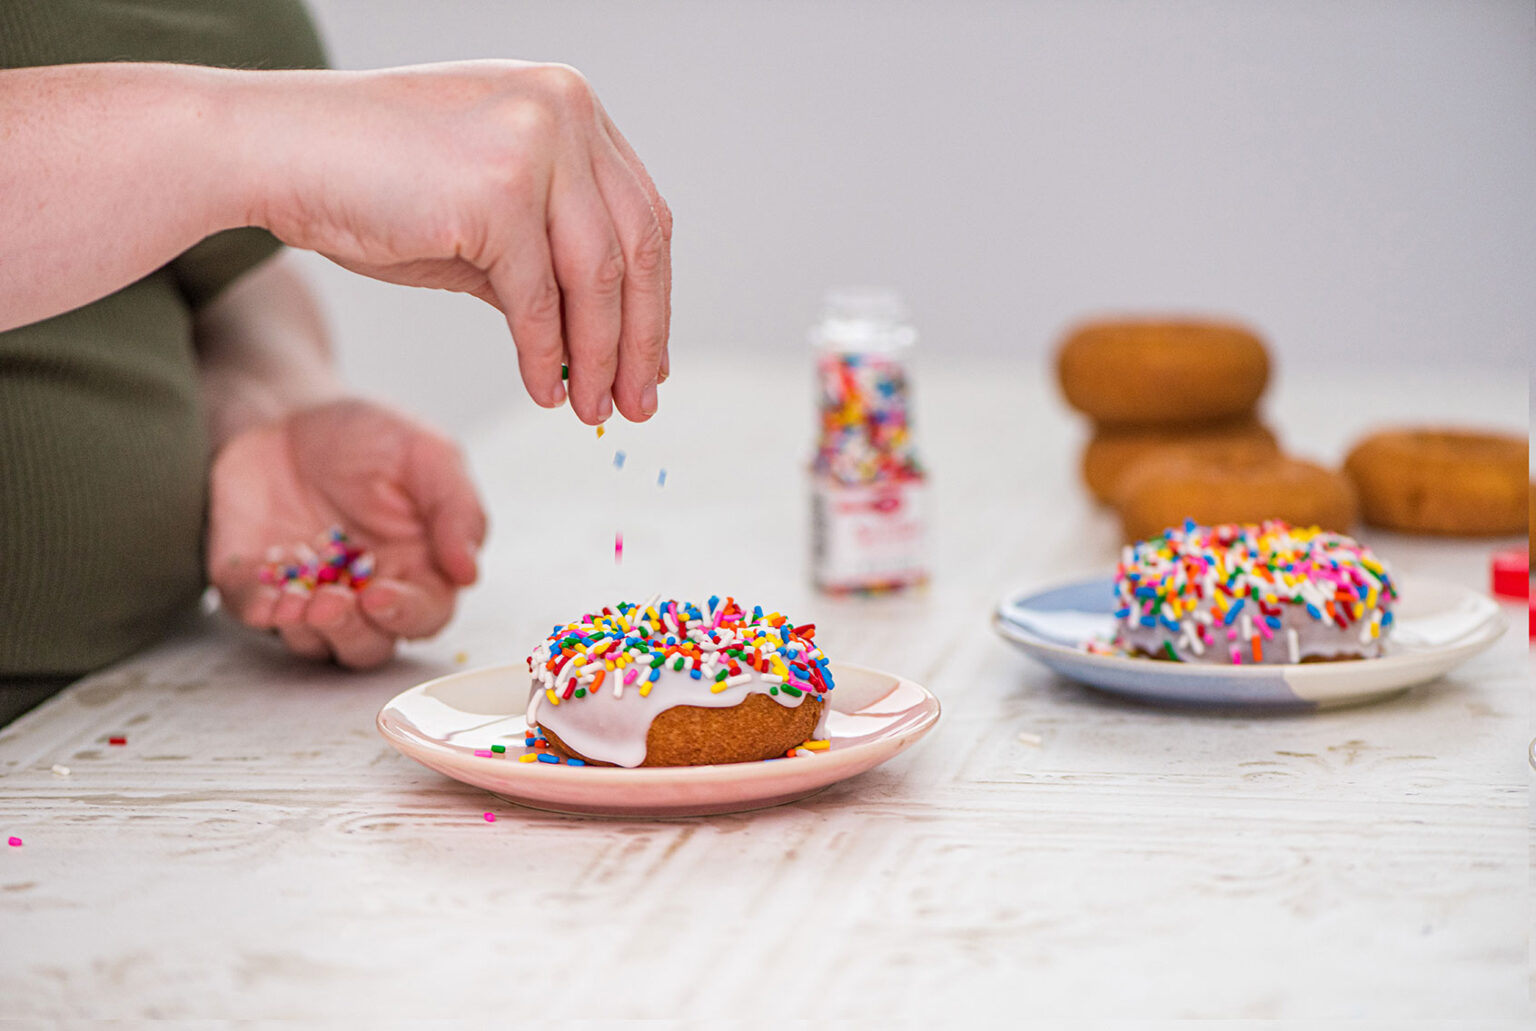
Step 4: Cut a small corner from your icing bag, then pipe icing onto your warm donuts. Add sprinkles and enjoy—or continue to customize your creations!