Do-It-Yourself Stencil Cake
Utilize any cookie cutter or paper stencil to easily customize your very own celebration cake!
Who Knew You Could Write With Sprinkles?
Utilize any cookie cutter or paper stencil to easily customize your very own celebration cake!
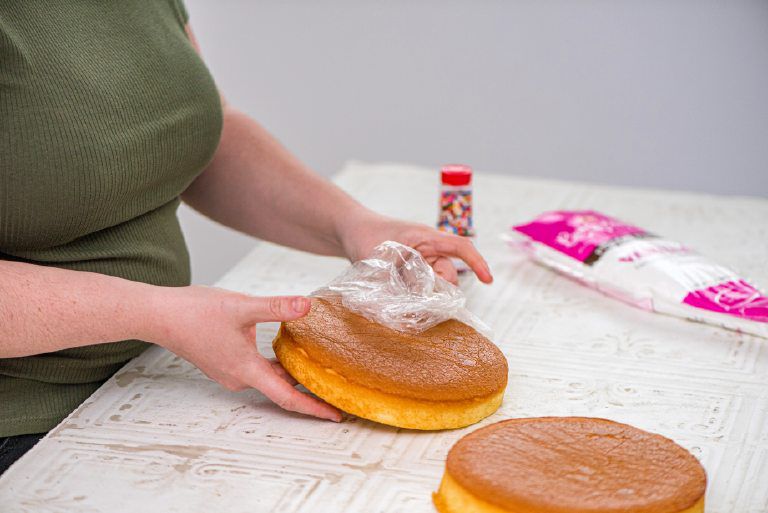
Step 1: Unwrap your cake layers and place them on your flat work surface. Our Specialty Treat Shop™ Cake Decorating Kits are available in-store, at your local grocery retailer.
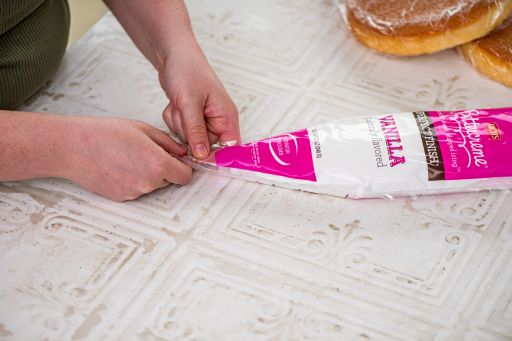
Step 2: Cut the tip of your icing bag where indicated and position the plastic tip in place.
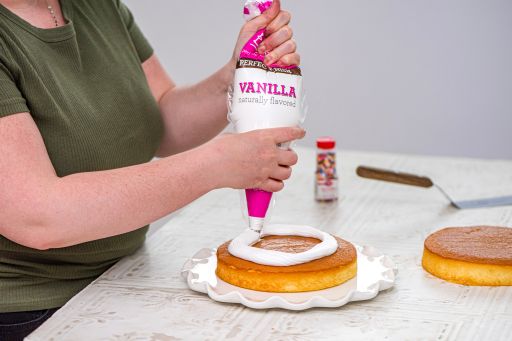
Step 3: Ice your cakes. We recommend spiraling the icing over the entire cake, then smoothing it out with a silicone spatula or palette knife.
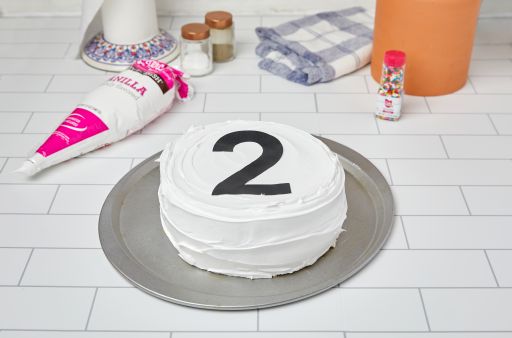
Step 4: Gently place your stencil where you want the design on your cake.
Two Ways to Finish!
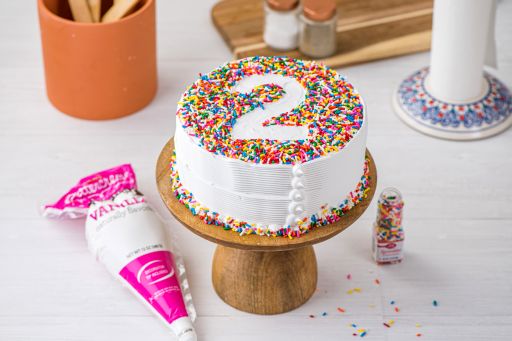
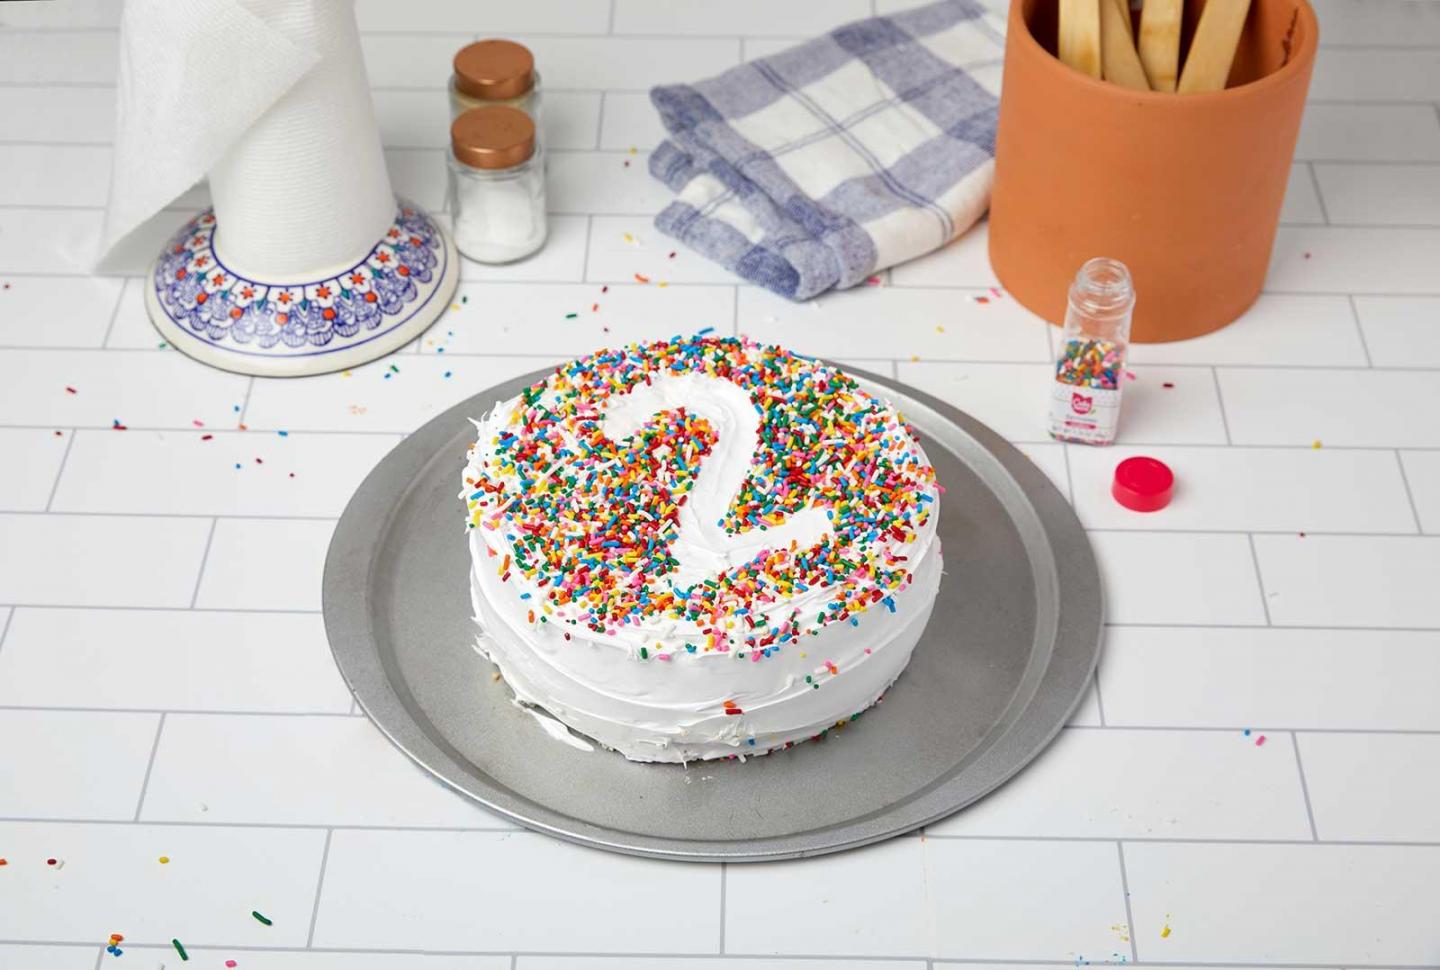
For an Inverted Look
Surround the outside of the stencil with sprinkles, then carefully pull the stencil directly up and off the cake.
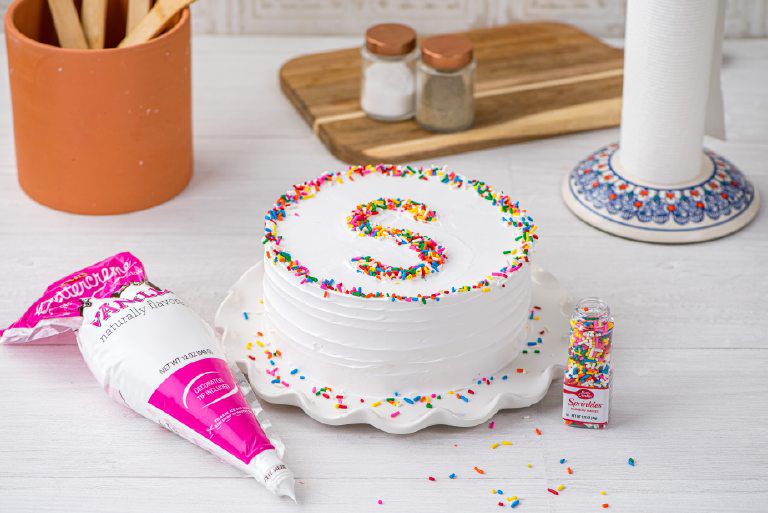
For a Sprinkle Shape
Fill your stencil or cookie cutter with sprinkles, then carefully pull the stencil directly up and off the cake.
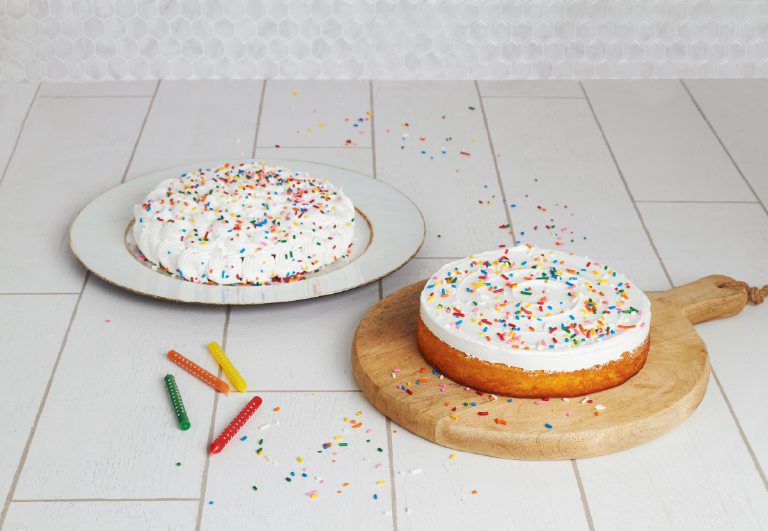
Two Cakes or One?
You can create two single-layer cakes, or one luscious double layer cake. For layer cakes, use a thin layer of icing between the two cakes.